
|
|
|
|
Note: These instructions are for the older version of the Bucky skull. The ones currently being sold will have a "Made In China" sticker on the back of the head. Click here for insturctions on the newer skulls. |
 |
|
| Click on the images to enlarge them |
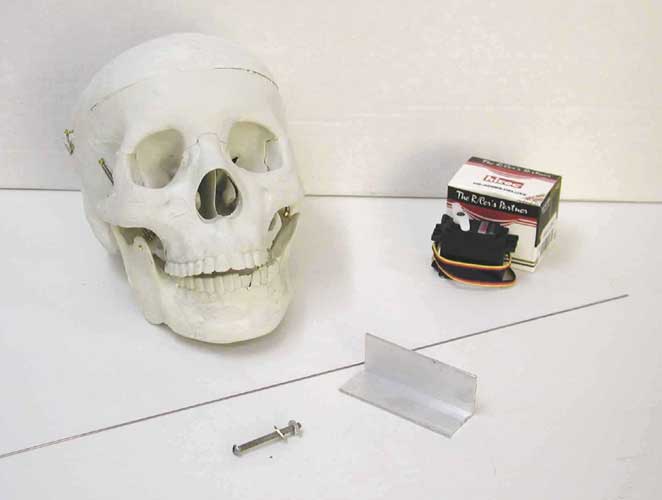
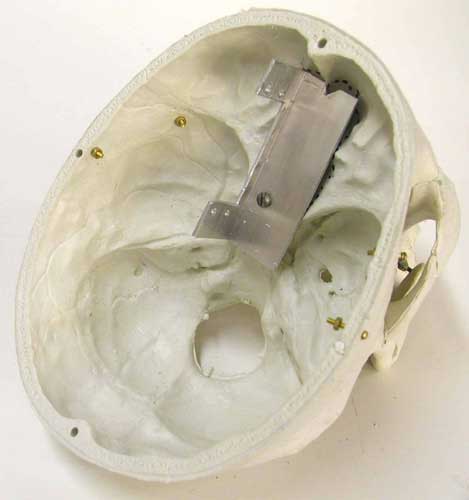
| We need to make a bracket that will allow us to mount a servo on the area marked by the dotted line. | 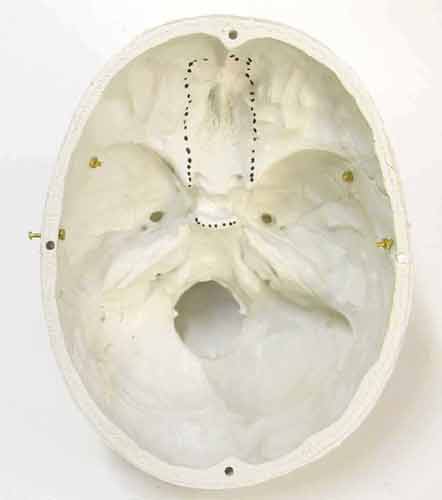 |
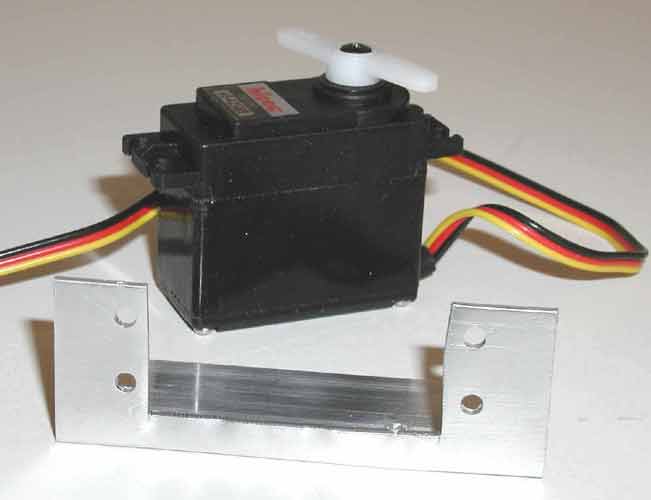 |
Using the appropriate tools (hack saw, tin snips, file, etc) cut an opening in one side of the aluminum angle to accommodate the servo. Be sure to leave some of the "angle" to maintain strength. Drill holes to match the servo mount. |
|
Cut a small notch in the end of the angle aluminum as shown. This will allow the piece to fit over a bony protrusion inside the front of the Bucky skull. Drill a hole to accept the #6 screw about 3/4 of the way back and off center as shown. This will be the mounting point for the bracket. |
 |
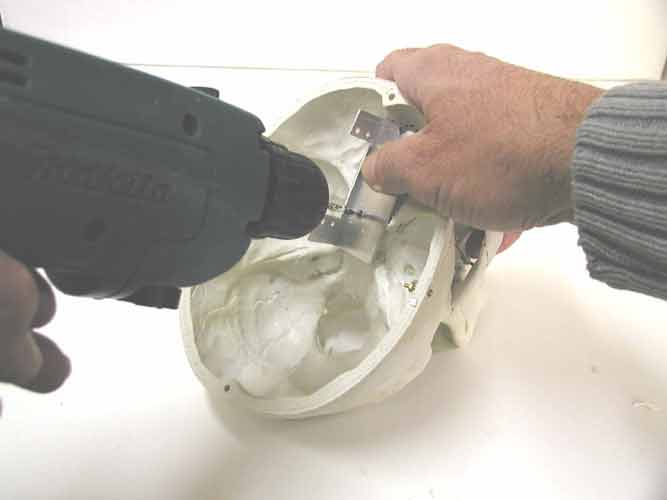 |
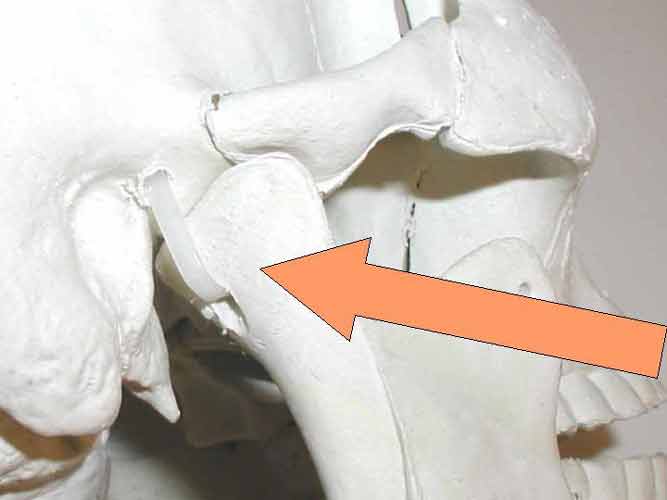
While holding the bracket in place(as shown by the dotted line, right) with the "V" notch toward the front of the skull, drill through the hole in the aluminum and into the skull. You want the hole to come out in Bucky's left nasal passage (ouch). | |
 |
Using the #6 hardware, install the bracket in the Bucky skull. Place the screw through the bracket then into the hole drilled in the last step. Fasten the screw with the washer and nut within the left nasal passage as shown (right). Don't overtighten or you'll bend the bracket. | 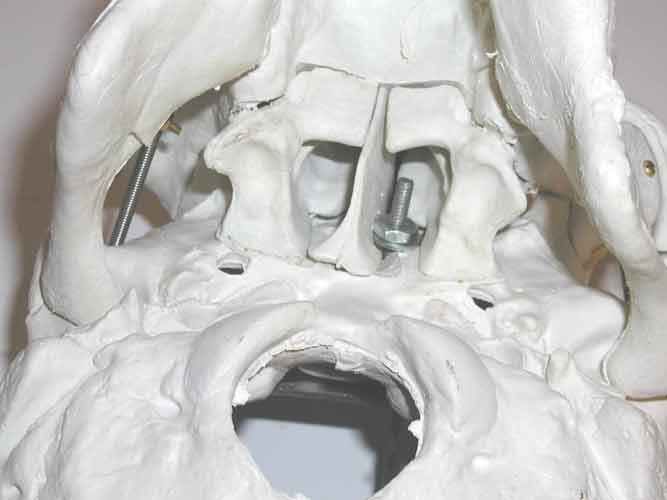 |
|
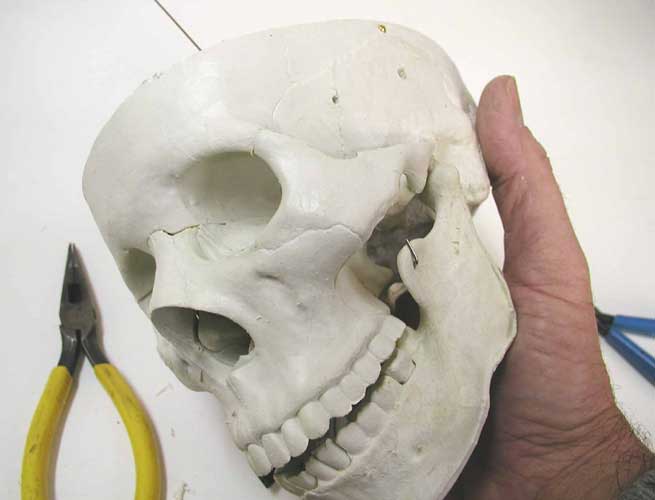
Bucky's jaw is only held in place by a pair of springs. We need to install a permanent pivot for the jaw and eliminate the springs because they are just too much mechanical resistance for the servo. Drill holes on either side of the jaw, through the back part of the jaw bone and into the skull. These holes should be just big enough to accommodate the small cable tie . Drill a second hole in the skull for the return of the cable tie (see picture below). |
 |
 |
|
Install the jaw with cable ties, leaving enough slack for smooth jaw movement Remove the jaw springs and hardware. |
 |
 |
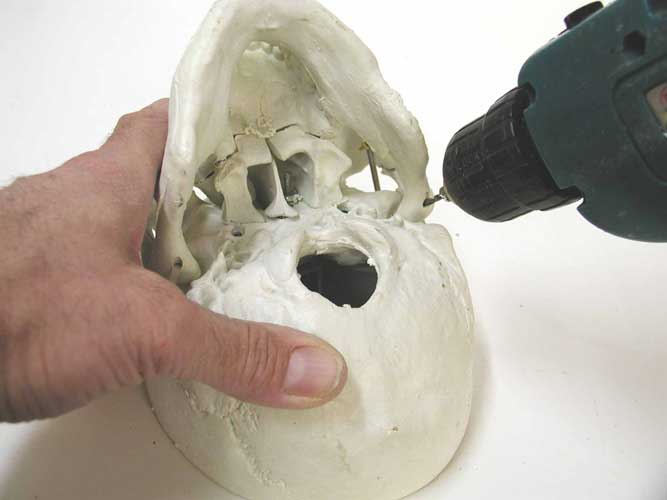
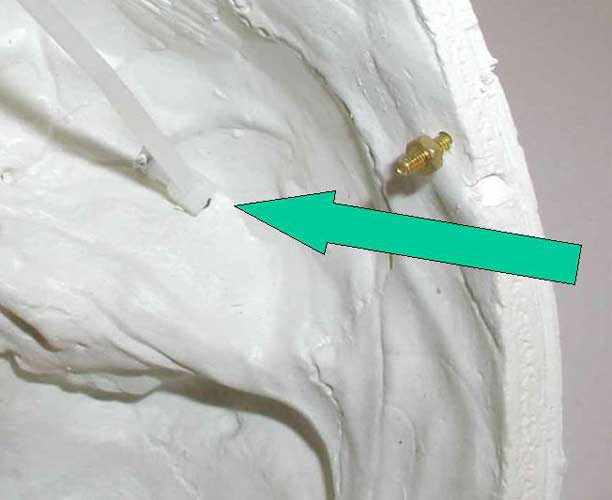
The next step is to drill a "connecting hole" that will allow you to connect the servo to the jaw. While holding the servo in place, imagine a straight line between the servo horn and the hole in the jaw where the spring was attached. Where this imaginary line intercepts the skull, place a mark and drill a hole. |
| If you were really good, the hole will line up perfectly, but more than likely, you'll have to "modify" the hole slightly to work with the connection between the servo and the jaw. | 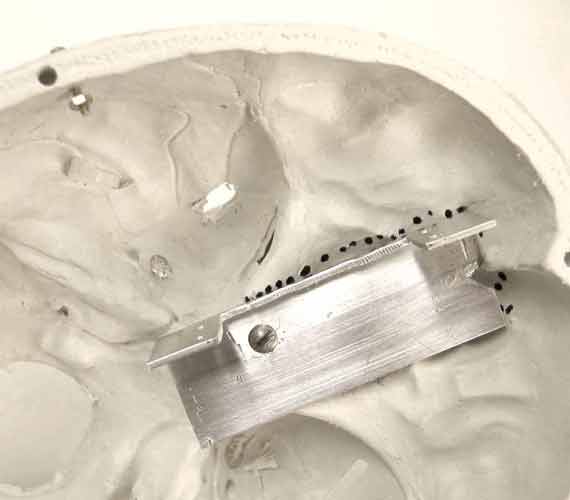 |
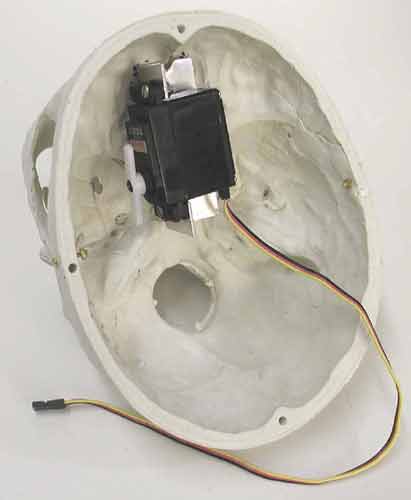 |
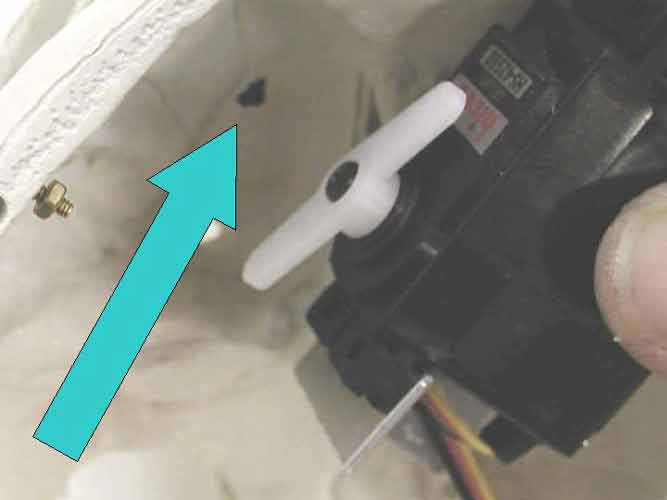
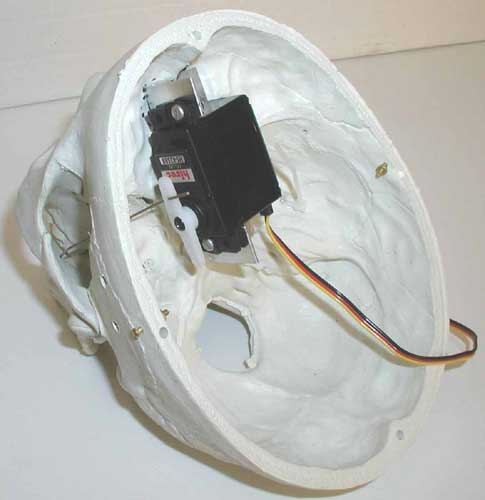
Install the servo into the skull. I find that using just two of the four mounting holes is adequate. |
|
The final step is to install the music wire connection between the servo and the jaw. Insert the wire through the "connecting hole" in the skull and then into the hole in the jaw where the spring was attached. Bend the wire as shown to secure it. |
 |
 |
Cut the other end of the wire and do a pair of bends to fit the servo horn as shown. |
|
There are several ways to drive the servo. I've developed a very simplistic circuit to drive it with a audio source. Click here for details. If you've got questions on the above procedure or suggestions on how to improve it, please contact me. Happy Haunting |
| Halloween Home | last update 12/2008 |