Rocking
a Chair with a Wiper Motor (page 3)

|
Rocking
a Chair with a Wiper Motor (page 3)
|
|
 |
Next, drill a hole in each end of the 16" long aluminum bar. One hole should be 5/16" diameter, the other should be the appropriate size to accommodate the hardware you'll be using to attach it to the chair (see below). |
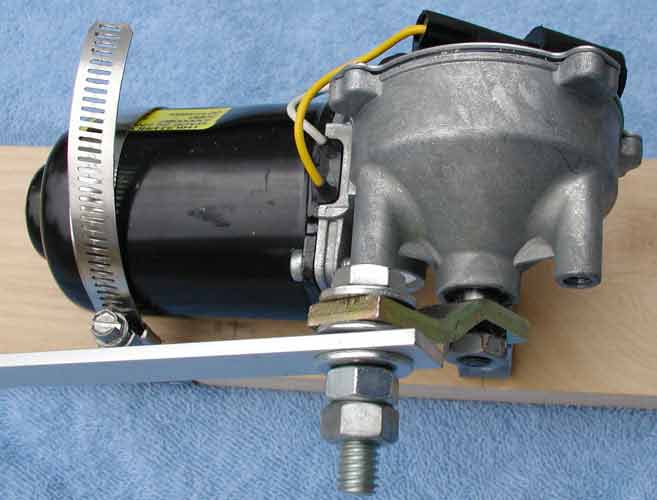 |
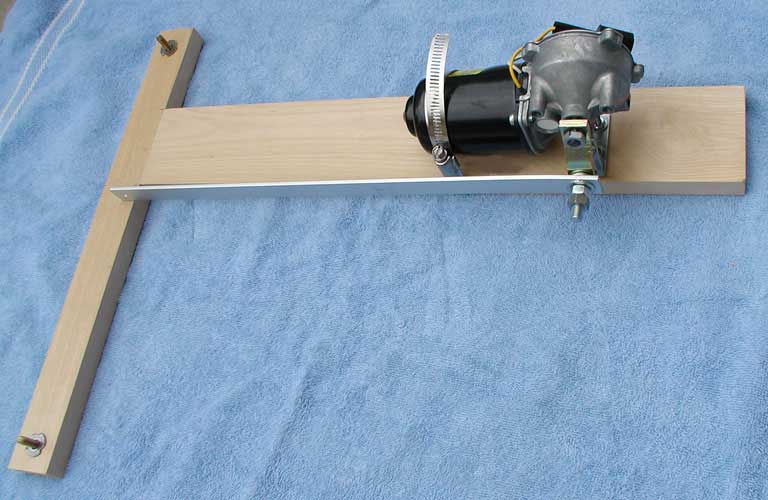
You need to attach the aluminum bar to the motor. Using the 5/16" bolt, three washers and two nuts, assemble as shown left, through the 5/16" hole in the bar. Leave a little play in the mechanism so the motor is free to rotate, then tighten the nuts against each other. You could also use a lock nut in this case, but I've had one gradually tighten before and seize up the mechanism, so I prefer the "jam nut" technique. Your mechanism should now look like the one pictured at right. |
 |
 |
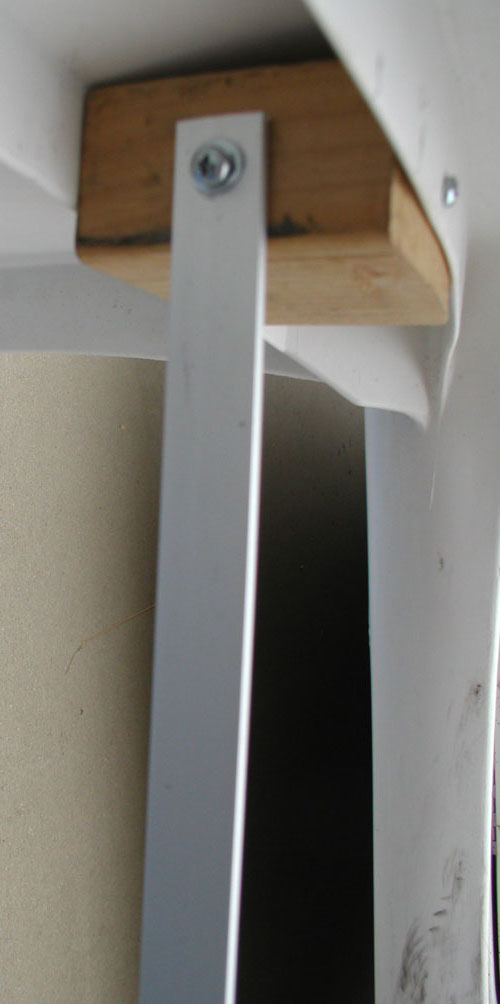
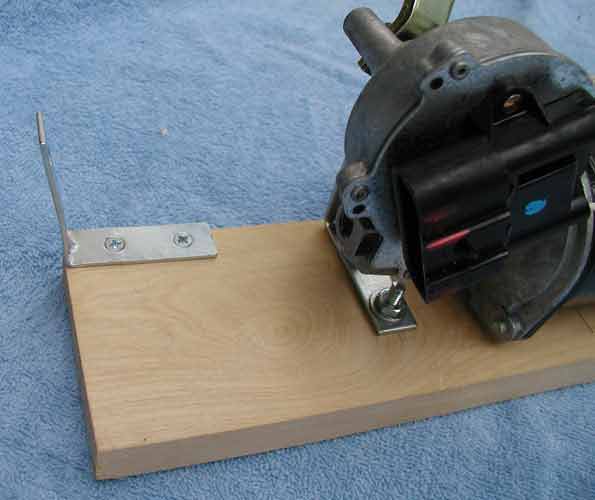
Some chairs have ribs that run from front to back which make for an easy installation of the aluminum bar. My chair did not have these ribs so I had to add a 2x4 block of wood as shown left for the mount. You'll have to adapt your chair as necessary. I used a 1" #8 wood screw and washer to mount the bar to the block of wood (right). |
 |
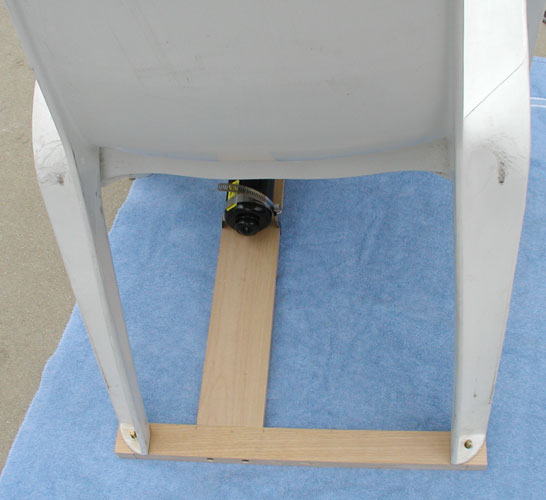 |
To complete the project, place the chair legs over the screws on the rear board and then install the 1/4" lock nuts. Tighten the lock nut just enough to engage the locking material but be sure to leave a gap as shown right to allow the chair to rock freely. The nut is just to make sure the chair does not come off the screws. | 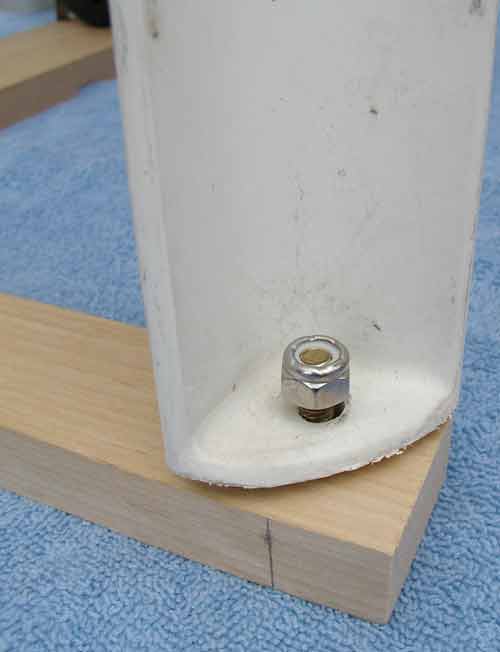 |
 |
One more addition I make is to add an angle bracket to the front of the main board. This allows us to attach the rocking mechanism to the stump or box that the Bucky can prop his feet on and helps to keep everything together. You don't need to prop up the feet, but I think it creates a better effect with the knees bending rather than the legs just dangling there. It also hides the motor. |
|
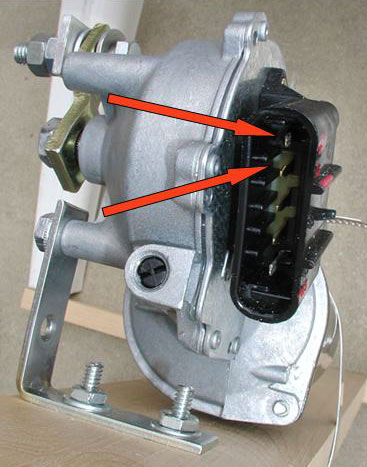
The final step is to wire the power supply to the motor. You want to connect to the top two terminals of the motor as shown right. I find it easiest to cut away some of the connector housing so I can solder wires to the motor terminals. You could also use some push-on crimp type connectors. Polarity is not critical as a polarity reversal just changes motor rotation direction. The second terminal is attached to the motor housing, so it's probably best to connect this pin to the negative side of the supply. Even though this is a 12 volt motor, I've found that it runs just fine on 5 volts and gives the "rocking" effect at just the right pace. Click here for more details on wiper motors. |
 |
| On my rocking chair, I've added a microswitch that is activated each time the motor arm turns. The microswitch in turns triggers a ChipCorder that plays a snoring sound over a speaker mounted in the Bucky's head. Here's a page that shows the microswitch mount. I've also attached an audio/servo driver and servo that makes the jaw on the Bucky move in sync with the sound. |
| Halloween Home | last updated 11/2019 |