|
Incorporating a Digital Sound Recorder into your Halloween Projects continued................. |
|
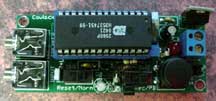
Recording the sound. Now that you've built your recorder circuit board, it's time to record some sound onto the ChipCorder. Power up the circuit by installing the batteries. Flip the Record/Playback switch (SW2) into the Record position. Connect the cable between the "speaker" or "line" output of your computer and the input jack on the recorder. At this point, you should have the sound that you want to record onto the ChipCorder ready to play on the computer. Simultaneously, press and hold down the button (SW1) on the recorder circuit and push the play button on the computer audio program. Keep SW1 pressed until the sound ends, then release. To playback the sound, connect your computer speakers to the speaker out jack on the ChipCorder circuit board, switch SW2 to Playback and momentarily press SW1. You should hear what you just recorded. If the sound is loud and distorted, you'll need re-record using a lower volume output from your computer. If the sound is weak and noisy, you'll need to increase the volume output of your computer. Make these adjustments, then re-record the sound using the above instructions. You can repeat this process as many times as you want until the sound is just right. (Winbond says you should be able to get 100,000 recording cycles from the ChipCorder, so you should have plenty of opportunity to get the sound perfect). |
| The "Switched" playback or the "Record/Playback" circuits can be remotely controlled by replacing SW1 with any type of "dry" contact switch you want. By dry contacts, I'm referring to any switch contacts that don't have any other electronics directly associated with them. This can be another pushbutton on a long cord, a switch mat, a motion sensor, a relay or anything you want. |
| Some examples of this circuit that I've used include: | |||
 |
Gus, the cemetery guard. He's a Bucky skeleton sitting in a chair that rocks. I have a switch on the rocking mechanism that triggers my ChipCorder circuit, which plays back a snoring sound every time the chair rocks back. | ||
|
|
My version of Carl's Trash Can Trauma has a switch that triggers the ChipCorder when the head pops up. It plays back a loud roar and a scream. | ||
 |
The Kitchen Sink Coffin uses a ChipCorder triggered by a Basic Stamp. In this case, the ChipCorder has seven different sounds that can be addressed by the Basic Stamp (click here for more info on addressing the ChipCorder). | ||
|
|
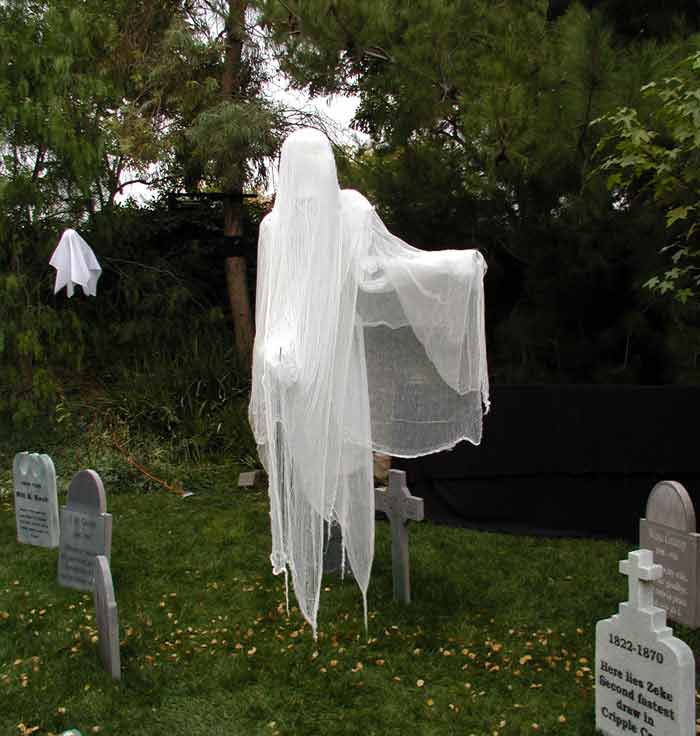
The Scary Crow has three ChipCorders, one for sounds from the Scary Crow itself and two more for crow sounds. | ||
|
|
My Grave Stomper. As he digs the ground, he make comments about the zombie that's trying to get out of the grave. In this case, the ChipCorder is also driving a servo that makes the gravediggers mouth move. Click here for an example of that circuit. |
|
|
The "Looped" playback circuit is very simple, put in some batteries, hook up the speakers and walk away. It will play your sound over and over until power is removed (or the batteries die). Some examples of this circuit that I've used include:
|
|
Here are some reasonably priced sources for kits or ready made ChipCorder units similar to what I've described above.
|
|
|
|
| Halloween Home | last update 4/2008 |